Getting started

Start the powershell environment
In order to get started either open any powershell IDE and load the powerVault Module by calling Import-Module powerVault or open the powerVault Console shortcut in the start menu, which already loads powerVault for you.
Connect to Vault
Before you can work you have to connect to Vault using the Open-VaultConnection Commandlet.
Get a file from Vault
After successful connection, you can start to work with powerVault.
Lets search for a random file which was created by the connected user:
1$user = $vaultConnection.UserName
2$file = Get-VaultFile -Properties @{"Created By"=$user}
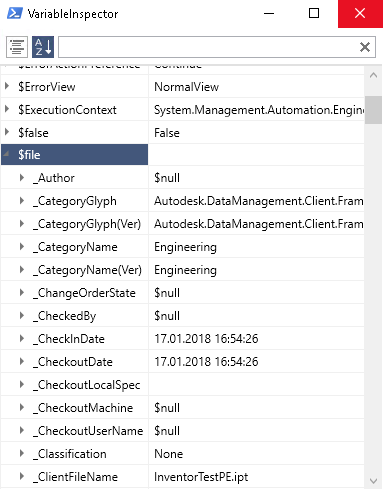
Examine the file
To check which properties our file has, we have two options.
Either we simply let the powershell Host print the $file object or we use the Variableinspector by calling the Show-Inspector Commandlet.
Update the file
In case you want to update the file you can achieve this with the Update-VaultFile Commandlet.
In this example we add an attachement to the file:
1$attachment = Get-VaultFile -Properties @{'File Extension'='dwf'} #Search for a .dwf file
2$updatedFile = Update-VaultFile -File $file.'Full Path' -Attachments @($attachment.'Full Path') -Comment "Set attachment"
Download the file
You may want to download the file from Vault. For ths operation you can use the Save-VaultFile Commandlet.
In this example we download the file with the recently added attachement:
1$downloadedFiles = Save-VaultFile -File $updatedFile.'Full Path' -IncludeAttachments -DownloadDirectory "C:\Temp\Vault\Sample"
2
3$downloadedFiles | select {$_.LocalPath}
4#C:\Temp\Vault\Sample\Designs\InventorTestPE.ipt
5#C:\Temp\Vault\Sample\InventorTestPE.dwf